VPN
VPN (Virtual Private Network) use encrypted connections (tunnels) between computers or networks to ensure a more secure communication. A staff member of the University can use VPN to work outside the campus and still be connected to the University network through an encrypted tunnel. Instructions for VPN-connection are provided below.
The JU VPN service utilizes VPN Split Tunneling. The VPN service will be limited to resources on the JU network while all other internet traffic will be routed through the internet service currently in use. You are thus able to use local resources as printers or network shares while also having access to JU. Since only the connection to JU is protected by VPN you may create a ticket at IT Helpdesk if you have work-related assignments which require that internet connections are protected by VPN.
Read more about file access of campus and different kinds of data storage here.
JU computer - PC
Most JU computers have the VPN client installed. Open the Start menu and search for FortiClient. FortiClient normally starts automatically and then has an icon in the system tray. If FortiClient is not installed, it can be installed from "Företagsportalen" ( "Company Portal") found in the start menu, when you've started Företagsportalent search for FortiClient. If this is the first time you start Företagsportalen, you need to choose the type of device you are using. If it is a JU computer (PC), select JU Employee Windows PC.
When the installation is complete, open the start menu and search for FortiClient. Start the program and follow the steps below.
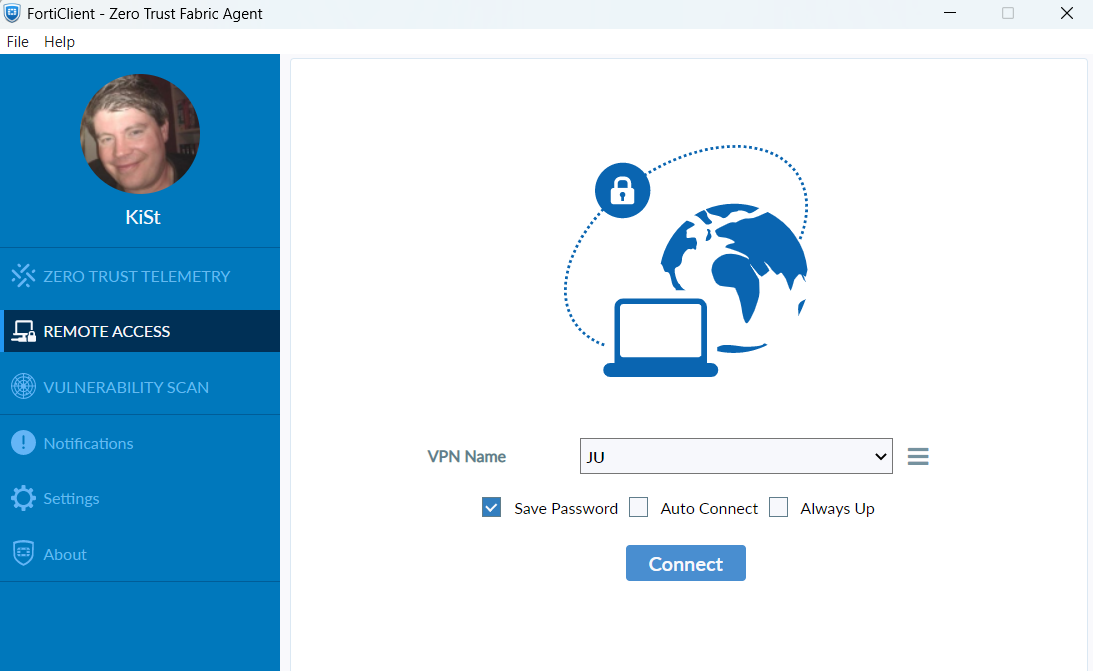
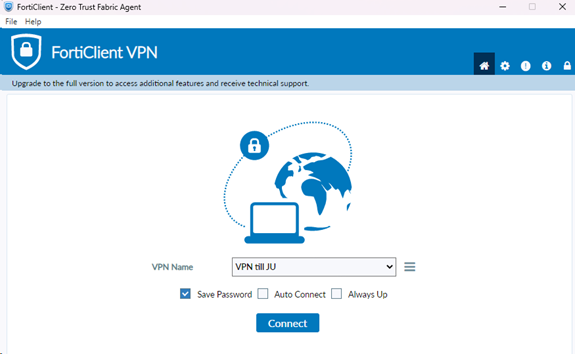
When you start FortiClient you will see this screen, the boxe Save password should allways be ticked. click on Connect.
.png)
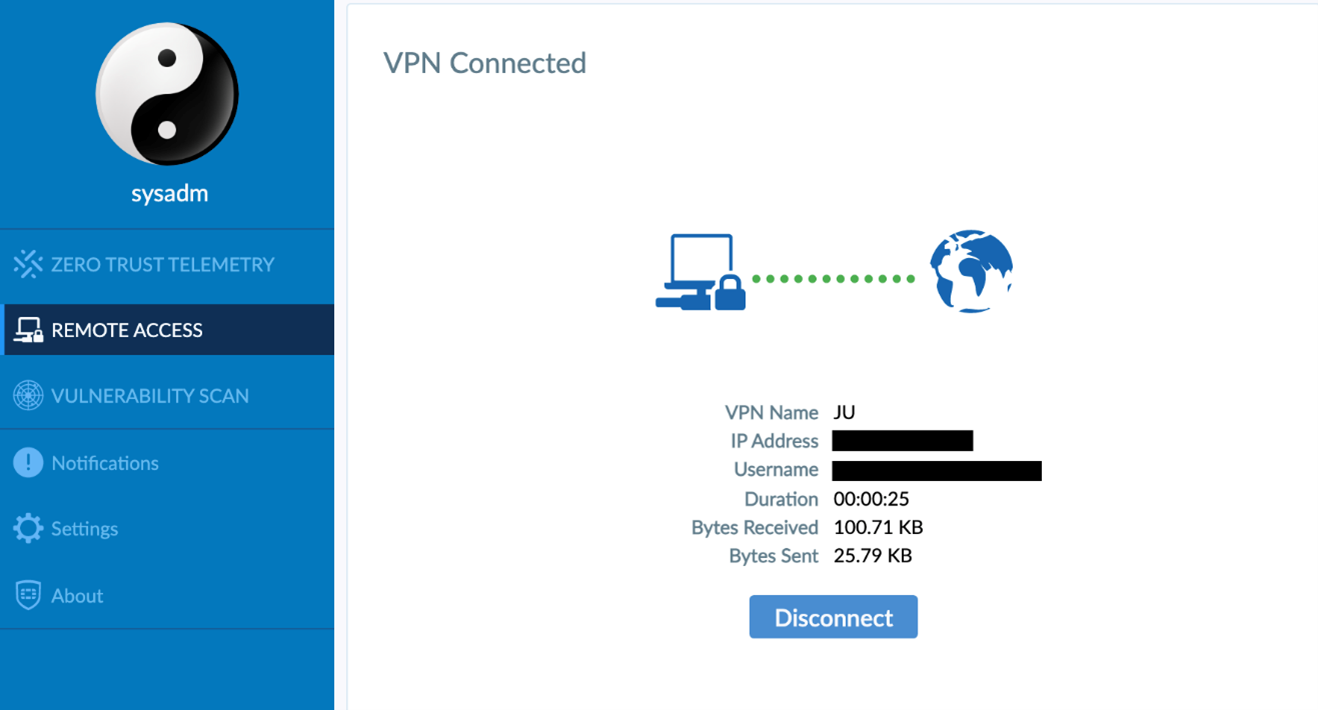
When you are connected it will look like this, click on Disconnect if you no longer want to use the VPN service.

JU computer - Mac
The VPN client is installed manually from the FileWave kiosk.
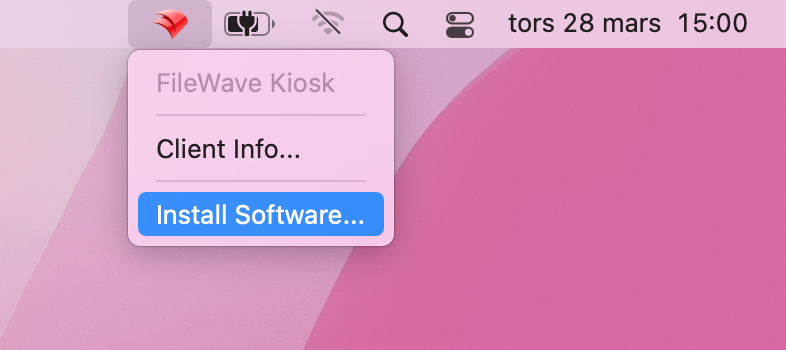
You'll get two dialog boxes shortly after FileWave appears to be finished.
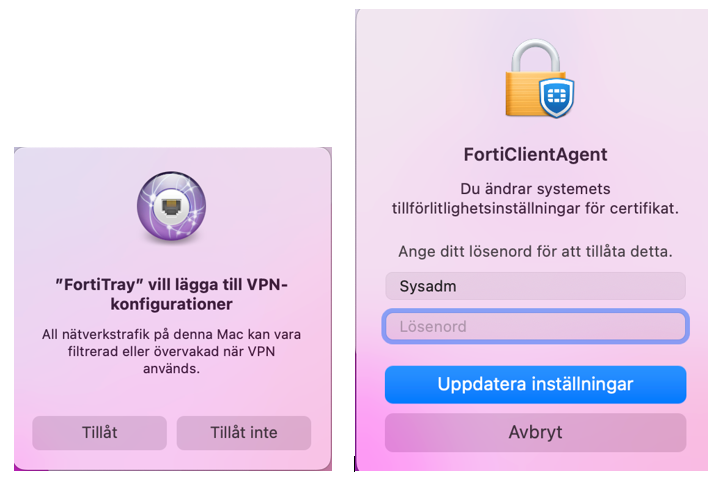
You can then start the client.

Click on Connect.

When you are connected it will look like this, click on Disconnect if you no longer want to use the VPN service.
Private computer - PC
On a private computer the free version needs to be installed. Follow the steps below.
Go to the page https://vpn.ju.se External link, opens in new window. and click on "Single Sign-On". Log in with your JU account (email address).
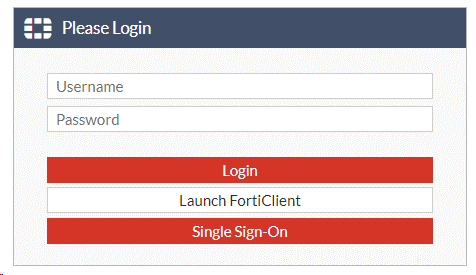
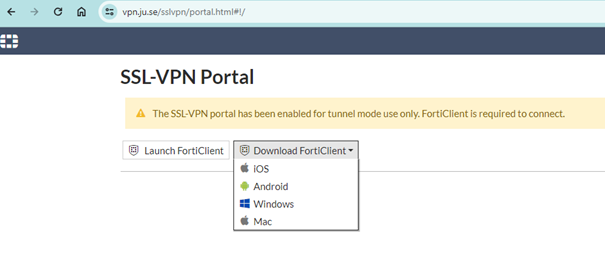
Dowload the client for Windows.
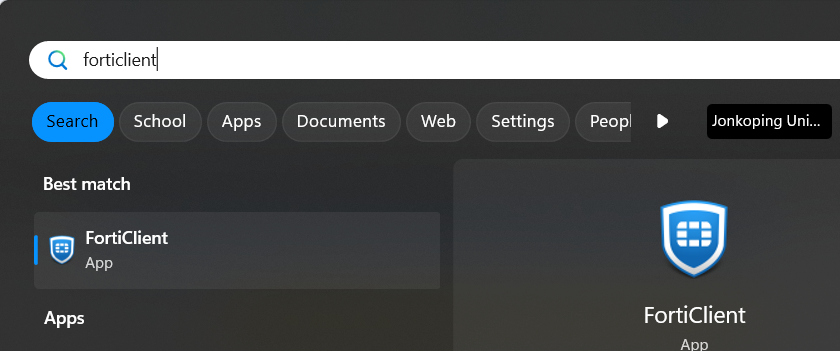
Install the program by following the instructions above. Then open FortiClient Console searching for FortiClient in the start menu.
Click on Configure VPN.

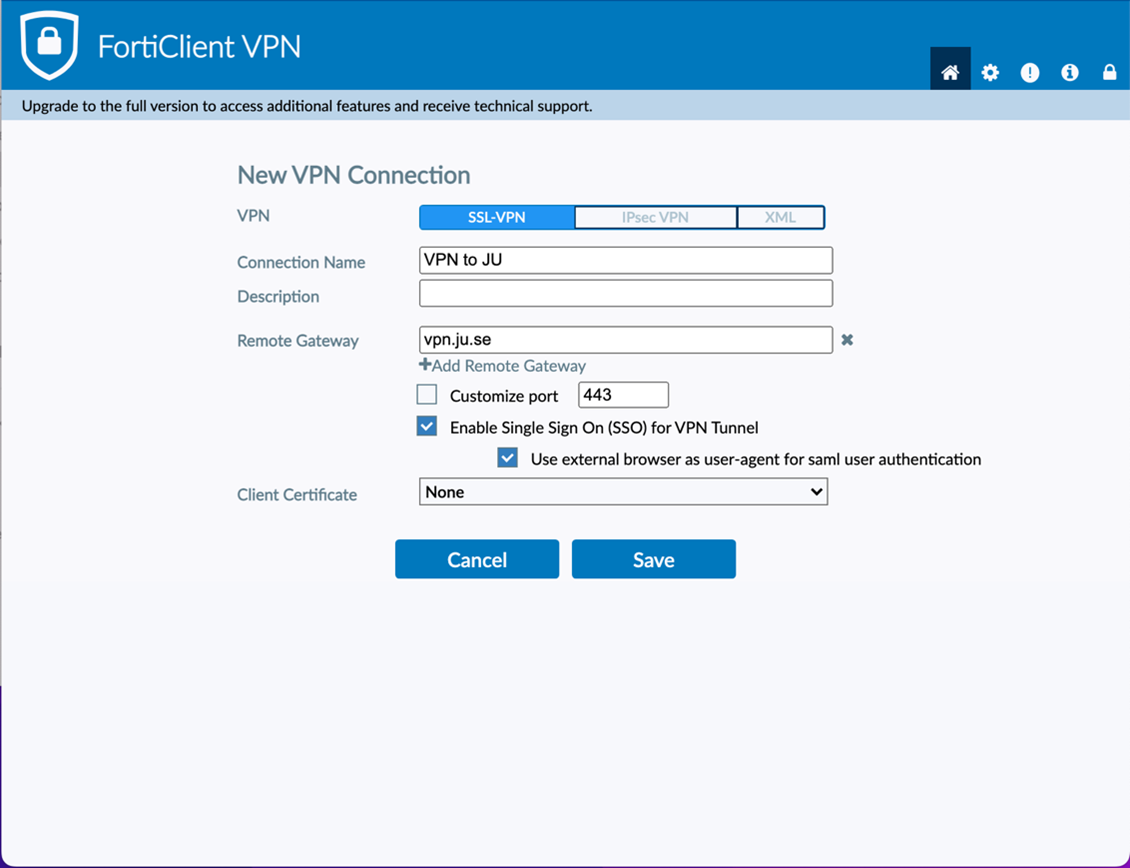
Fill in the infomration as shown below:

Connect to VPN - click on Connect.

When you are connected it will look like this, click on Disconnect if you no longer want to use the VPN service.

When you have configured your profile and connected one time you can check the box Save Password to be able to log in easier the next time.
Private computer - Mac
On a private computer the free version needs to be installed. Follow the steps below.
Go to the page https://vpn.ju.se External link, opens in new window. and click on "Single Sign-On". Log in with your JU account (email address).

Dowload the client for Mac.

Detailed instructions on how to install FortiClient VPN on Mac can be found on Fortinet's website External link, opens in new window..
Install the program by following the instructions above. Then open FortiClient. Click on Configure VPN.

Fill in the information as shown below:
Connect to VPN - click on Connect.

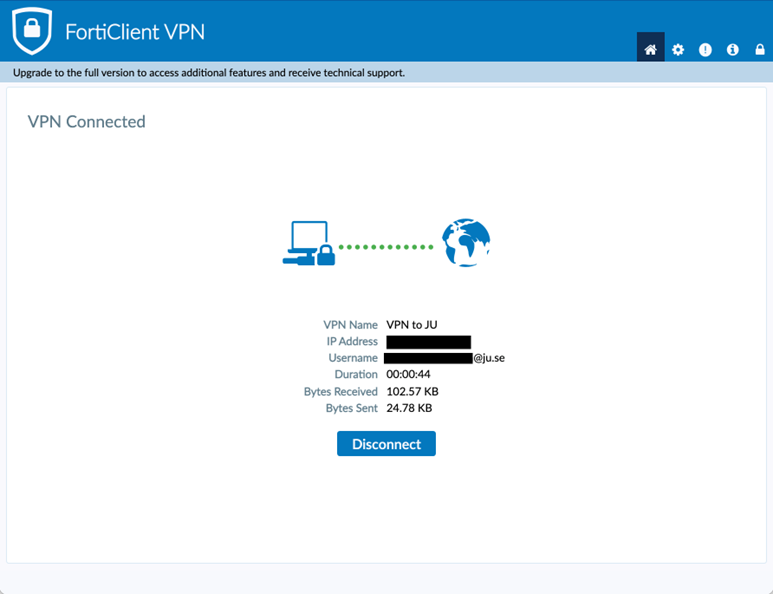
When you are connected it will look like this, click on Disconnect if you no longer want to use the VPN service.
Phone and tablet
On JU-managed mobile devices, the FortiClient VPN will be deployed automatically.
Download the FortiClient VPN app via the AppStore or via the "Play Store" if you are using a private device.
iOS
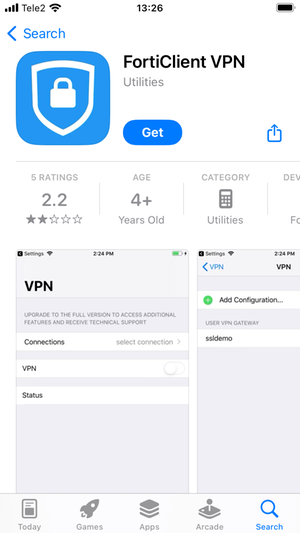
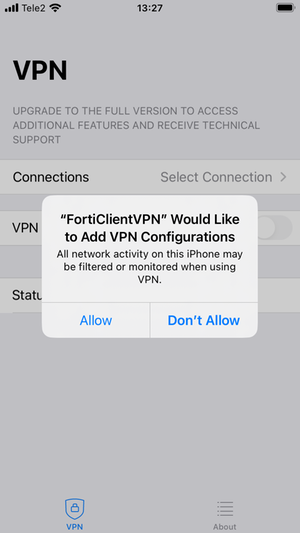
Click on Accept on the question about support (it is the only choice). Allow or deny notifications as you wish. Allow the app to add VPN configurations.
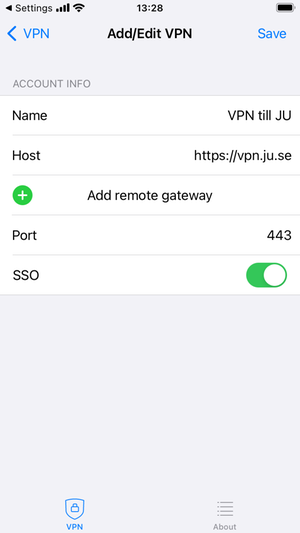
Fill in the infomation as below:
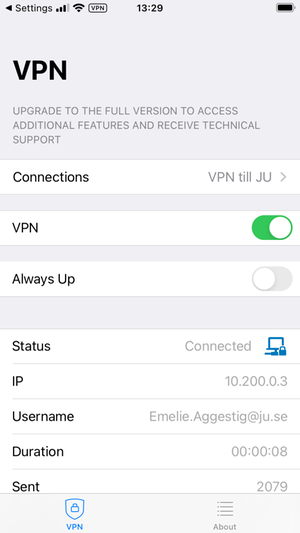
Connect by tapping on the VPN slider in the app. When you are connected it will look like this. Disconect by tapping on the slider again.
Android
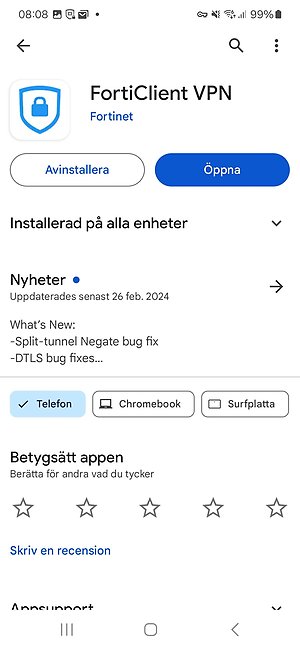
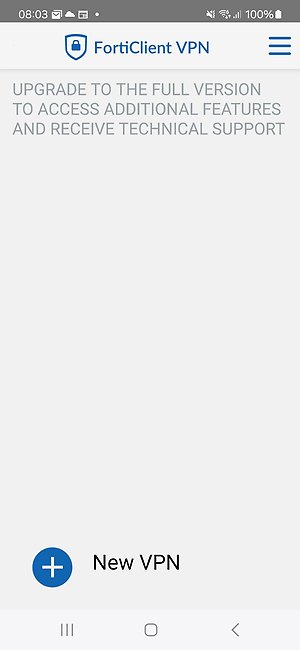
Tap on New VPN
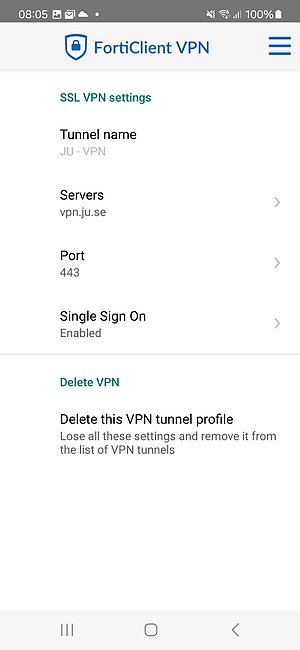
Fill in the infomation as below:
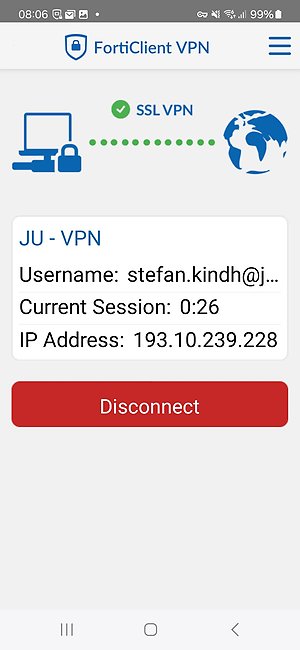
When you are connected it will look like this. Disconect by tapping on Disconnect.
